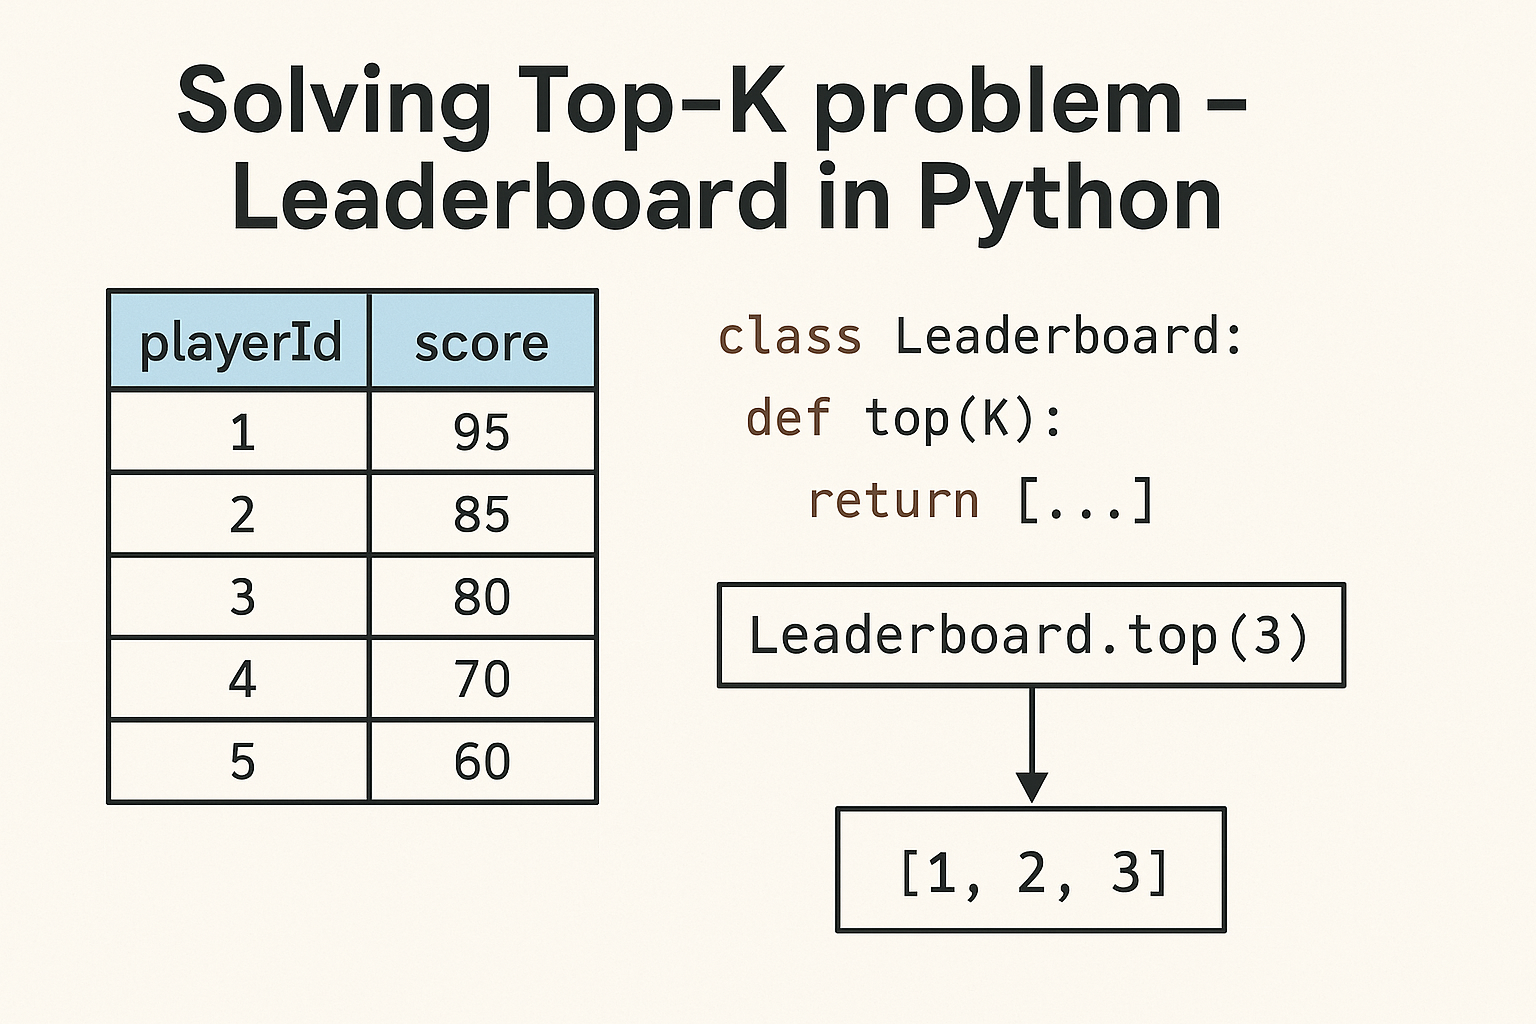
🚀 Supercharge Your Python Code Reviews: Automate with GPT and OpenAPI Endpoints

A common approach to getting code reviews with ChatGPT is by posting a prompt along with a code snippet. While effective, this process can be time-consuming and repetitive. If you want to streamline, customize, or fully automate your code review process, meet gptscript.

Gptscript is a powerful automation tool designed to build tools of any complexity on top of GPT models.

At the core of gptscript is a script defining a series of steps to execute, along with available tools such as Git operations, file reading, web scraping, and more.

In this guide, we’ll demonstrate how to perform a Python code review using a simple script (python-code-review.gpt).

tools: sys.read

You are an expert Python developer, your task is to review a set of pull requests.
You are given a list of filenames and their partial contents, but note that you might not have the full context of the code.

Only review lines of code which have been changed (added or removed) in the pull request. The code looks similar to the output of a git diff command. Lines which have been removed are prefixed with a minus (-) and lines which have been added are prefixed with a plus (+). Other lines are added to provide context but should be ignored in the review.

Begin your review by evaluating the changed code using a risk score similar to a LOGAF score but measured from 1 to 5, where 1 is the lowest risk to the code base if the code is merged and 5 is the highest risk which would likely break something or be unsafe.

In your feedback, focus on highlighting potential bugs, improving readability if it is a problem, making code cleaner, and maximising the performance of the programming language. Flag any API keys or secrets present in the code in plain text immediately as highest risk. Rate the changes based on SOLID principles if applicable.

Do not comment on breaking functions down into smaller, more manageable functions unless it is a huge problem. Also be aware that there will be libraries and techniques used which you are not familiar with, so do not comment on those unless you are confident that there is a problem.

Use markdown formatting for the feedback details. Also do not include the filename or risk level in the feedback details.

Ensure the feedback details are brief, concise, accurate. If there are multiple similar issues, only comment on the most critical.

Include brief example code snippets in the feedback details for your suggested changes when you're confident your suggestions are improvements. Use the same programming language as the file under review.
If there are multiple improvements you suggest in the feedback details, use an ordered list to indicate the priority of the changes.

Format the response in a valid Markdown format as a list of feedbacks, where the value is an object containing the filename ("fileName"), risk score ("riskScore") and the feedback ("details"). The schema of the Markdown feedback object must be:

## File: filename
Risk: riskScore

Details: details


The content for review is provided as input file.

Testing time

You will need gptscript installed.
The prompt from above as python-code-review.gpt file.
File to review. I am using the following Python code (code.py):

colors = {
"apple": "red",
"banana": "yellow",
"cherry": "red",
"mango": "red",
"lemon": "yellow",
"plum": "purple"
}

common = {}
for k, v in colors.items():
if v in common:
common[v] += 1
else:
common[v] = 1

common = sorted(common.items(), key=lambda x:x[1], reverse=True)
print(common[0][0])

Run gptscript with promptfile and code as first two inputs:

gptscript python-code-review.gpt code.py

Output:

## File: code.py
Risk: 2

Details:
1. The sorting of the `common` dictionary could be optimized by using the `collections.Counter` class, which is specifically designed for counting hashable objects. This would make the code more readable and efficient.

```python
from collections import Counter

common = Counter(colors.values())
most_common_color = common.most_common(1)[0][0]
print(most_common_color)
```

2. Consider using more descriptive variable names to improve readability, such as `color_counts` instead of `common`.

The results is in Markdown syntax which is easy to read for a human.

But, if you want to add automation I would prefer to change output toJSON format or a format of your choice which suits you tools.

Let’s refactor the promt to request JSON output:

Format the response in a valid JSON format as a list of feedbacks, where the value is an object containing the filename ("fileName"),  risk score ("riskScore") and the feedback ("details"). 
The schema of the JSON feedback object must be:
{
  "fileName": {
    "type": "string"
  },
  "riskScore": {
    "type": "number"
  },
  "details": {
    "type": "string"
  }
}


The content for review is provided as input file.

Re-run the script and you will get something like this:

[
{
"fileName": "code.py",
"riskScore": 2,
"details": "1. Consider using a `defaultdict` from the `collections` module to simplify the counting logic. This will make the code cleaner and more efficient.\n\nExample:\n```python\nfrom collections import defaultdict\n\ncommon = defaultdict(int)\nfor v in colors.values():\n common[v] += 1\n```\n\n2. The sorting and accessing the first element can be improved for readability by using `max` with a key function.\n\nExample:\n```python\nmost_common_color = max(common.items(), key=lambda x: x[1])[0]\nprint(most_common_color)\n```"
}
]

Remember, LLMs output are not determined, you can get different result for the same request.

Now let’s review what actually happens when you run gptscript with the prompt.

What It Does in a Nutshell

  1. Extracts code for review: Captures content from the input file(code.py).
  2. Sets context for the LLM: Instructs the LLM to act as an expert Python developer tasked with providing a detailed and sophisticated code review.
  3. Defines Structured Output: Returns results in two fields:
    Risk: A score indicating the potential risk associated with the changes.
    Details: A comprehensive explanation of the changes and their implications.

Conclusion

Gptscript is a powerful tool to kickstart your journey into automation using OpenAPI models. By defining custom scripts, you can streamline complex workflows, such as automated code reviews, with minimal effort.

This example just scratches the surface—there’s much more you can achieve with gptscript. Explore additional examples from the gptscript project to discover more possibilities and enhance your automation capabilities.

Happy automating!

Multi provider DNS management with Terraform and Pulumi

The Problem

Every DNS provider is very specific how they create DNS records. Using Terraform or Pulumi don’t guarantee multi provider support out of the box.

One example where AWS Route53 support values for multiple IP binding to the same name record. Where Cloudflare must have a dedicated record for each IP.

Theses API difference make it harder to write code which will work for multiple providers.

For AWS Route53 a single record can be created like this:

mydomain.local: IP1, IP2, IP3

For Cloudflare it would be 3 different records:

mydomain.local: IP1
mydomain.local: IP2
mydomain.local: IP3

The Solution 1: Use flexibility of programming language available with Pulumi

Pulumi has a first hand here since you can use the power of programming language to handle custom logic.

DNS data structure:

mydomain1.com: 
 - IP1
 - IP2 
 - IP3
mydomain2.com:
 - IP4
 - IP5 
 - IP6
mydomain3.com: 
 - IP7
 - IP8 
 - IP9

Using Python or Javascript we can expand this structure for Cloudflare provider or keep as is for AWS Route53.

In Cloudflare case we will create new record for each new IP

import pulumi
import pulumi_cloudflare as cloudflare
import yaml

# Load the configuration from a YAML file
yaml_file = "dns_records.yaml"
with open(yaml_file, "r") as file:
    dns_config = yaml.safe_load(file)

# Cloudflare Zone ID (Replace with your actual Cloudflare Zone ID)
zone_id = "your_cloudflare_zone_id"

# Iterate through domains and their associated IPs to create A records
for domain, ips in dns_config.items():
    if isinstance(ips, list):  # Ensure it's a list of IPs
        for ip in ips:
            record_name = domain
            cloudflare.Record(
                f"{record_name}-{ip.replace('.', '-')}",
                zone_id=zone_id,
                name=record_name,
                type="A",
                value=ip,
                ttl=3600,  # Set TTL (adjust as needed)
            )

# Export the created records
pulumi.export("dns_records", dns_config)

and since AWS Route53 support IPs list, so the code would look like:

for domain, ips in dns_config.items():
    if isinstance(ips, list) and ips:  # Ensure it's a list of IPs and not empty
        aws.route53.Record(
            f"{domain}-record",
            zone_id=hosted_zone_id,
            name=domain,
            type="A",
            ttl=300,  # Set TTL (adjust as needed)
            records=ips,  # AWS Route 53 supports multiple IPs in a single record
        )

Solution 2 – Using Terraform for each loop

It’s quite possible to achieve the same using Terraform starting with version 0.12 which introduce dynamic block.

Same data structure:

mydomain1.com: 
  - 192.168.1.1
  - 192.168.1.2
  - 192.168.1.3
mydomain2.com:
  - 10.0.0.1
  - 10.0.0.2
  - 10.0.0.3
mydomain3.com: 
  - 172.16.0.1
  - 172.16.0.2
  - 172.16.0.3

Terraform example for AWS Route53

provider "aws" {
  region = "us-east-1"  # Change this to your preferred region
}

variable "hosted_zone_id" {
  type = string
}

variable "dns_records" {
  type = map(list(string))
}

resource "aws_route53_record" "dns_records" {
  for_each = var.dns_records

  zone_id = var.hosted_zone_id
  name    = each.key
  type    = "A"
  ttl     = 300
  records = each.value
}

Quite simple using for_each loop, but will not work with Cloudflare, because of the mentioned compatibility issue. So, we need new record for each IP.

Terraform example for Cloudflare

# Create multiple records for each domain, one per IP
resource "cloudflare_record" "dns_records" {
  for_each = { for k, v in var.dns_records : k => flatten([for ip in v : { domain = k, ip = ip }]) }

  zone_id = var.cloudflare_zone_id
  name    = each.value.domain
  type    = "A"
  value   = each.value.ip
  ttl     = 3600
  proxied = false  # Set to true if using Cloudflare proxy
}

Conclusions

  1. Pulumi: Flexible and easy to start. Data is separate from code, making it easy to add providers or change logic.
  2. Terraform: Less complex and easier to support long-term but depends on data format
  3. Both solutions require programming skills or expertise in Terraform language.

Simple LRU cache implementation on Python 3

What is LRU Cache?

This is caching item replacement policy, so the least used items will be discarded first.

Problem

The LRU Cache algorithm requires keeping track of what was used when, which is expensive if one wants to make sure the algorithm always discards the least recently used item.

Solution

Approaching a problem I was thinking of two capabilities for data structures: a FIFO queue and Hash table.

FIFO queue will be responsible to evict least used items. Hash table will be responsible to get cached items. Using this data structures make both operations in O(1) time complexity.

Python collections.OrderedDict combine both of this capabilities:

  • Queue: dict items are ordered as FIFO queue, so inserts and evictions are done in O(1)
  • Hash table: dict keys provide access to data in O(1) time
import collections
LRUCache = collections.OrderedDict()

Insert operation:

LRUCache[key] = value

It will add a key to the end of the dict, so position of new items is always fixed.

Check for hit:

if key in LRUCache:
  LRUCache.move_to_end(key)

Here we are doing two things: 1) Checking if key exist 2)If key is exist we move they key to the end of dict, so the keys which got a hit always update it’s position to become like newest key.

Discard or evict operation:

if len(LRUCache) > CACHE_SIZE:
  evict_key, evict_val = LRUCache.popitem(last=False)

Evict operation pop item from the beginning of the dict, so removing the oldest key in the dict.

Python 3 implementation

"""Simple LRUCache implementation."""

import collections
import os
import random
from math import factorial

CACHE_SIZE = 100
if os.getenv('CACHE_SIZE'):
    CACHE_SIZE = int(os.getenv('CACHE_SIZE'))

SAMPLE_SIZE = 100
if os.getenv('SAMPLE_SIZE'):
    SAMPLE_SIZE = int(os.getenv('SAMPLE_SIZE'))

LRUCache = collections.OrderedDict()


def expensive_call(number):
    """Calculate factorial. Example of expensive call."""
    return factorial(number)


if __name__ == '__main__':

    test_cases = random.choices(
        [x for x in range(SAMPLE_SIZE*3)],
        [x for x in range(SAMPLE_SIZE*3)],
        k=SAMPLE_SIZE
    )

    for test in test_cases:
        if test in LRUCache:
            print("hit:", test, LRUCache[test])
            # Update position of the hit item to first. Optional.
            LRUCache.move_to_end(test, last=True)
        else:
            LRUCache[test] = expensive_call(test)
            print("miss:", test, LRUCache[test])
        if len(LRUCache) > CACHE_SIZE:
            evict_key, evict_val = LRUCache.popitem(last=False)
            print("evict:", evict_key, evict_val)

As a use case I have used LRU cache to cache the output of expensive function call like factorial.

Sample size and Cache size are controllable through environment variables. Try to run it on small numbers to see how it behave:

CACHE_SIZE=4 SAMPLE_SIZE=10 python lru.py

Next steps are

  • Encapsulate business logic into class
  • Add Python magic functions to provide Pythonic way of dealing with class objects
  • Add unit test

References

Integrating Flask with Jaeger tracing on Kuberentes

Distributed applications and microservices required high level of observability. In this article we will integrate a Flask micro framework with Jaeger tracing tool. All code will be deployed to Kubernetes minikube cluster.

Flask

Let’s build a simple task manager service using Flask framework.

Code

tasks.py

from flask import Flask, jsonify
app = Flask(__name__)

@app.route('/')

tasks = {"tasks":[
        {"name":"task 1", "uri":"/task1"},
        {"name":"task 2", "uri":"/task2"}
    ]}

def  root():
	"Service root"
	return  jsonify({"url":"/tasks")
                     
@app.route('/tasks')
def  tasks():
	"Tasks list"
	return  jsonify(tasks)

if __name__ == '__main__':
  "Start up"
  app.run(debug=True, host='0.0.0.0',port=5000)
Continue reading Integrating Flask with Jaeger tracing on Kuberentes

Practical guide to Kubernetes Certified Administration exam

I have published practical guide to Kubernetes Certified Administration exam https://github.com/vorozhko/practical-guide-to-kubernetes-administration-exam

Covered topics so far are:

Share your efforts

If your are also working on preparation to Kubernetes Certified Administration exam lets combine our efforts by sharing the practical side of exam.

Go http middleware chain with context package

Middleware is a function which wrap http.Handler to do pre or post processing of the request.

Chain of middleware is popular pattern in handling http requests in go languge. Using a chain we can:

  • Log application requests
  • Rate limit requests
  • Set HTTP security headers
  • and more

Go context package help to setup communication between middleware handlers.

Continue reading Go http middleware chain with context package